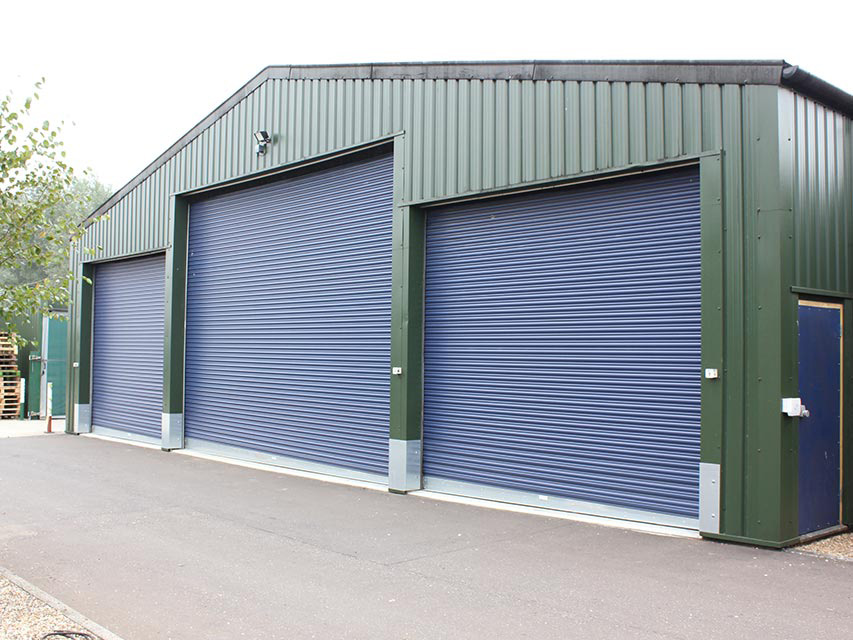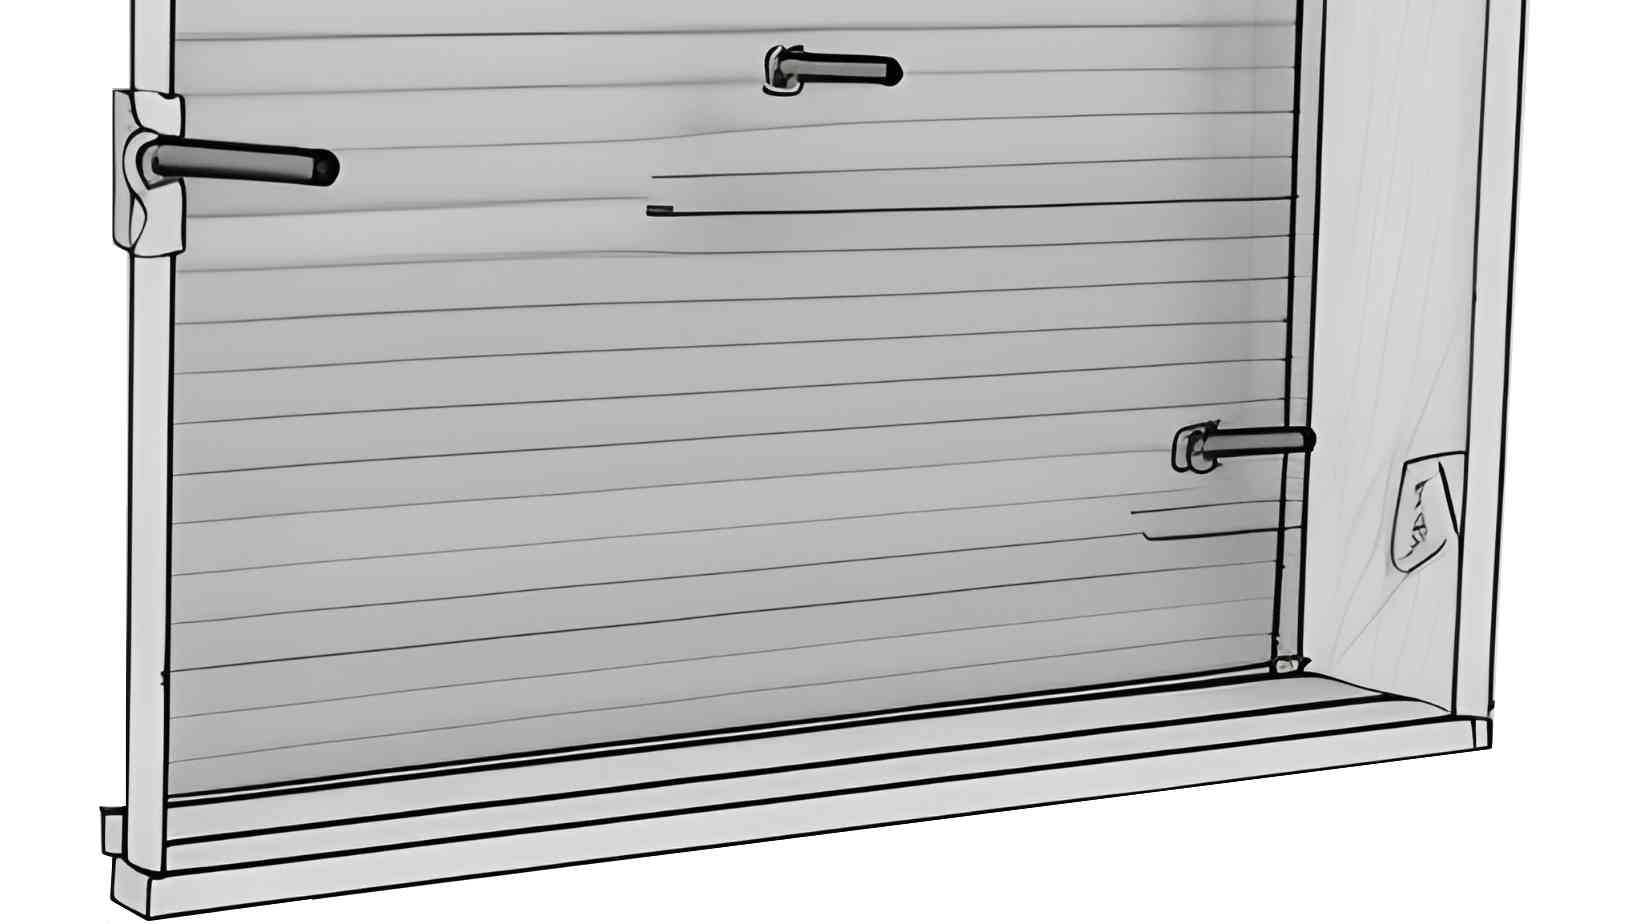
Roller shutters are essential when it comes to protecting properties and ensuring security. While there are various methods, manual installation offers distinct advantages in terms of control and customization. In this comprehensive guide, we aim to provide step-by-step instructions, necessary tools, and techniques for a successful roller shutter installations, empowering individuals to enhance the security and functionality of property.
Understanding Roller Shutters
Roller shutters are versatile and robust window or door coverings designed to provide security, privacy, insulation, and light control. They are available in different types, including aluminum, steel, and vinyl, each offering unique benefits. Aluminum shutters, for instance, are lightweight, durable, and resistant to corrosion, making them suitable for various applications. Steel shutters, on the other hand, provide enhanced strength and security, ideal for high-risk areas. Vinyl shutters offer excellent insulation properties and can withstand extreme weather conditions.
Choosing the right material is crucial for ensuring optimal performance and longevity. Factors such as climate, security requirements, and aesthetic preferences should considered during the selection process. Aluminum shutters commonly preferred for their versatility and durability, while steel shutters are ideal for areas that require maximum security.
Pre-Installation Preparation
Assessing the Location and Measurements
Before starting the installation process, it is essential to assess the location where the roller shutters will installed. Take into account the window or door dimensions, ensuring accurate measurements of both the width and height. Precise measurements are crucial for ordering or manufacturing the correct size of roller shutters.
Gathering the Essential Tools and Materials
To facilitate a smooth installation, gather the necessary tools and materials. The following is a list of commonly required tools:
- Measuring tape: Used to measure the dimensions accurately.
- Level: Ensures that the roller shutters are installed horizontally and vertically.
- Drill: Required for creating holes for mounting brackets and screws.
- Screwdriver: Used to tighten screws and fasten various components.
- Screws: Necessary for attaching brackets, side guides, and bottom bars.
- Brackets: Support the roller shutters and ensure secure mounting.
- Bottom bar: Provides stability and helps in smooth operation.
- Side guides: Assist in guiding the movement of the roller shutters.
Safety Precautions
Safety should be a top priority during the installation process. Before beginning, ensure you have the following safety measures in place:
- Protective gear: Wear appropriate safety gear, including gloves, safety glasses, and a dust mask, to protect against any potential hazards.
- Working with caution: Exercise caution while handling tools, especially when using power tools. Follow manufacturer guidelines and recommended safety procedures.
By considering these pre-installation steps, you can lay the groundwork for a successful roller shutter installation. In the next section, we will delve into the step-by-step process of installing roller shutters manually.
Step-by-Step Installation Process

A. Removing Existing (if applicable):
Before installing the roller shutters, it is necessary to remove any existing treatments that may obstruct the installation process. Follow these steps to ensure a clean and clear surface:
- Start by fully opening any curtains or blinds covering the window.
- If there are curtain rods or blind brackets, remove them by unscrewing or unclipping them from the window frame.
By removing existing window treatments, you create a clean canvas for the roller shutter installation.
B. Marking and Aligning the Installation Points:
To ensure precise and accurate installation, marking and aligning the installation points is crucial. Follow these steps to achieve proper alignment:
- Use a measuring tape to measure and mark the positions where the brackets will be attached. Ensure these marks are aligned both horizontally and vertically.
- Use a level to verify that the marked points are straight and level. Adjust if necessary to maintain alignment.
- Double-check the measurements and alignment before proceeding to the next step.
Properly marking and aligning the installation points will help ensure that the roller shutters are installed evenly and operate smoothly.
C. Installing the Brackets:
Installing the brackets is a key step in securing the roller shutters. Follow these steps to properly attach the brackets:
- Place the brackets against the marked points on the wall or window frame.
- Use a drill to create pilot holes for the screws, ensuring the size of the holes matches the screws provided with the brackets.
- Align the brackets with the pilot holes and insert the screws, tightening them securely. Repeat this process for each bracket.
It is essential to use the appropriate screws and anchors provided with the brackets to ensure secure and stable mounting.
D. Mounting the Roller Shutter:
Once the brackets are securely installed, it’s time to mount the roller shutter onto the brackets. Follow these steps for a successful mounting:
- Lift the roller shutter and position it onto the brackets, ensuring it aligns properly.
- Gently lower the roller shutter, allowing it to rest on the brackets. Verify that it sits securely in place.
- Use a screwdriver to tighten any screws or locking mechanisms provided with the roller shutter to secure it to the brackets.
Take extra care during this step to ensure the roller shutter is aligned and level for smooth operation.
E. Securing the Bottom Bar and Side Guides:
To enhance stability and proper functioning of the roller shutter, secure the bottom bar and side guides. Follow these steps:
- Attach the bottom bar to the roller shutter by aligning it with the designated slots or grooves. Slide it into place until it fits securely.
- Use screws or locking mechanisms provided with the bottom bar to fasten it to the roller shutter. Tighten them securely but avoid over-tightening.
- Install the side guides on both sides of the frame, aligning them with the roller shutter’s edges. Ensure they are parallel and level.
- Secure the side guides to the frame using the provided screws or brackets. Tighten them appropriately to maintain stability.
Properly securing the bottom bar and side guides ensures the roller shutter operates smoothly and remains securely in place.
F. Testing and Adjusting the Roller Shutter:
Once the roller shutter installations is done, it’s important to test its functionality and make necessary adjustments. Follow these steps to ensure proper tension, alignment, and smooth movement:
- Test them by operating them up and down using the provided controls or manual operation.
- Observe the movement, checking for any misalignment or stiffness. If needed, make adjustments to the brackets, side guides, or tensioning mechanisms to correct any issues.
- Ensure that the shutter moves smoothly without any obstructions or binding.
By thoroughly testing and adjusting, you can ensure optimal performance and functionality.
Finishing Touches and Maintenance
After completing the roller shutter installations, there are a few finishing touches and maintenance steps to consider to ensure their optimal performance and longevity.
A. Adding Weather Seals:
To enhance the insulation and waterproofing capabilities of the roller shutters, it is advisable to add weather seals. These seals help to prevent drafts, moisture, and noise from entering the premises. Follow these steps to add weather seals:
- Measure the gaps between the roller shutters and the frame or wall.
- Cut the weather seal material to the appropriate length, ensuring it fits snugly along the edges.
- Attach it to the roller shutters using adhesive or screws, depending on the type of seal and manufacturer’s instructions.
By adding weather seals, you can improve energy efficiency, reduce noise levels, and enhance overall performance.
B. Adjusting Tension Springs:
In some cases, you may need to adjust the tension springs of the roller shutters to ensure smooth operation and proper balance. Follow these steps to adjust the tension springs:
- Locate the tension adjustment mechanism, typically found at the end of the roller shutter opposite the motor or control mechanism.
- Using the appropriate tools, such as a tension adjustment rod or wrench, turn the adjustment screws clockwise to increase tension or counterclockwise to decrease tension.
- Make incremental adjustments and test the roller shutters after each adjustment to ensure they move smoothly and evenly.
Regularly adjusting the tension springs helps maintain the desired level of tension and ensures the roller shutters function optimally.
Troubleshooting Common Issues
Despite following the roller shutter installation instructions carefully, you may encounter some common issues. Here are a few troubleshooting techniques to help address these problems:
- Misalignment: If the roller shutters are not aligned properly, causing difficulties in operation, check the brackets, side guides, and roller shutter tracks. Ensure they are straight, level, and properly secured. Adjust and tighten as necessary.
- Difficulties in Operation: If the roller shutters are difficult to open or close, check for any obstructions in the tracks, side guides, or bottom bar. Lubricate the moving parts with a silicone-based lubricant to facilitate smooth operation.
- Uneven Movement: If the roller shutters move unevenly or exhibit a wobbling motion, inspect the brackets and side guides for any loose screws or improper alignment. Tighten screws and ensure proper alignment to promote even movement.
Remember, if you encounter any major issues or are unsure about troubleshooting techniques, it is always recommended to seek professional assistance from Roller Shutter Repair London. They have the expertise and experience to address complex issues and provide the necessary repairs or adjustments.
Conclusion
In conclusion, manual installation of roller shutters offers numerous benefits in terms of security, control, and functionality. By following the step-by-step installation process, including pre-installation preparation, marking and aligning the installation points, installing brackets, mounting the roller shutter, securing the bottom bar and side guides, and testing and adjusting the roller shutter, you can successfully install roller shutters on your property.
Additionally, paying attention to finishing touches, such as adding weather seals and adjusting tension springs, ensures optimal performance and protection against weather elements. Regular maintenance, including cleaning and lubrication, further contributes to the longevity and efficient operation of the roller shutters.
In case of any issues or complications, it is recommended to seek professional assistance from Roller Shutter Repair London. Their expert team can provide guidance, troubleshooting solutions, and necessary repairs to ensure your roller shutters continue to function flawlessly.
Take control of your property’s security and enjoy the convenience of manual roller shutter installation.
Contact us
Find our comprehensive step-by-step guide on how to manually install roller shutters. At Roller Shutter Repair London, we understand that not everyone can manage roller shutter installations themselves or be located anywhere in England. That’s why our blog provides detailed instructions for DIY enthusiasts, empowering them to enhance the security of their property. If you are unable to install roller shutters manually, our specialist technicians are available across England to provide professional roller shutter installations services. You can contact us to get services, we also provide emergency service and are available 24/7 in England.


